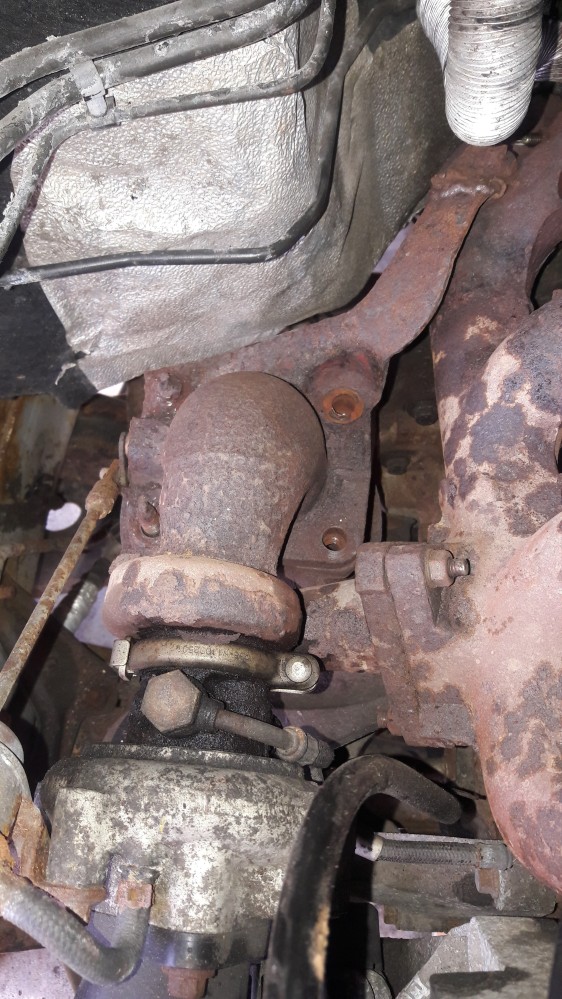
My intention to remove the engine is to provide greater access into the engine bay so I can treat the rust move effectively. This is my first engine removal, it seems pretty straight forward and I do not expect too many issues to arise.
I have purchased the Haynes Workshop Manual as well as the FordEtis Workshop Manual for this Van, these make things go way smoother. I highly recommend either of these if you intend to undertake any work of you own on your Transit, or any Vehicle for that matter. See here for a version of the FordEtis manual online(free, but hard to navigate)
For the price you really can’t beat it. Never had a workshop manual before but I will now for all my vehicles, current and future.
Click the links below to take you to specific points on the page.
Engine Removal
Electrical Harness
Exhaust System
Transmission Connections
Engine Removal
First of I though I might as well show you how the engine was removed. See the images for the step by step of how I did it.
Here’s a couple of things to note/account for before you pull the engine out. This mostly applies only if the cross member is coming out with it, which is in my opinion and also Haynes the easiest method.
- The steering rack does get in the way so I did remove mine as it was coming out any way. If you do not want to remove the steering rack you need some special spacers from ford. See here. These ensure the transmission housing clears the steering rack.
- A flat surface is essential as the engine hoist rolls much easier. Also do not do this on an incline as the Van will just roll back and destroy anything in its way.
- Support the drive shaft to the Van in the straight position and as level to how it would lie when attached to the transmission, remember that it will turn with the Van is moved back.
- Support the transmission on the front side of the steering rack sub-frame so it does not drop when the Van is pushed back.
- I did this with just one other mate and with relative ease. What works for me may not work for you. I’d recommend at least three people if not four. Even more if not using a secondary Van to pull the Chassis out.
With the engine out I can now focus on the RUST removal. Click the link provided to be taken to the page about rust treatment.
Electrical Harness
These are detailed steps to remove transmission connections. Note that these steps can be carried out in any order, this is the order I used.
I labeled all the electrical connections as I was fairly certain that I would somehow mess up the re-connection. I soon learned that all the connectors are unique so it’s impossible to plug something in to the wrong location.
All electrical connectors are given the designation “C” e.g. C1,C2,C3…..
- C1
- C2
- C3
- C4
- C5
- C6
- C7
- C8 – Alternator Control Power from ECU main harness
- C9-1,2,3,4 – Ignition Coils from ECU main harness. C9-1 coil 1 being at the front.
- C10 – Located top rear of engine block
- C11 – Located top right of engine block
- C12 – Located near C11
- C13 – Located top front of engine. 8mm socket
- C14 – Located next to C13
- C15 – Back of engine
- C16 – Back of engine
- C17-1 – 13mm Socket, C17-2 – 10mm Socket
- C18 – Connectos to same point as C17-1
- C19 – On top of the bell housing
- C20 – Next to the start of the drive shaft
Pictured below the removed engine and transmission are all the electrical connection locations and functions.
Pictured below is the ECU (engine control unit) along with it’s harness. I have added clear designation of all connectors for clarity.
Exhaust System
These are detailed steps to remove transmission connections. Note that these steps can be carried out in any order, this is the order I used.
Step 1: Remove x4 nuts from exhaust manifold connection. These are 14mm socket.

Notice how two threads came out as the nut was bound to the thread, I also had difficulty removing the last bolt
Transmission Connections
These are detailed steps to remove transmission connections. Note that these steps can be carried out in any order, this is the order I used.
Step 1: Remove the Clutch selector cables from the transmission levers. To remove them, depress the inner button and pull the fitting towards you.
These selectors are located drivers side, right next to the drive shaft to transmission connection.


Leave a comment if you want specific information and I will get back to you.
LikeLike